Installing glue up ceiling tiles is a great way to add a unique touch to your home decor. Here’s how you can do it in just a few steps:
- First, you should measure the area where you will be installing the ceiling tiles and mark the measurements on the wall and the tiles.
- Next, apply the adhesive to the back of the ceiling tiles. Make sure you spread it evenly to ensure a good bond.
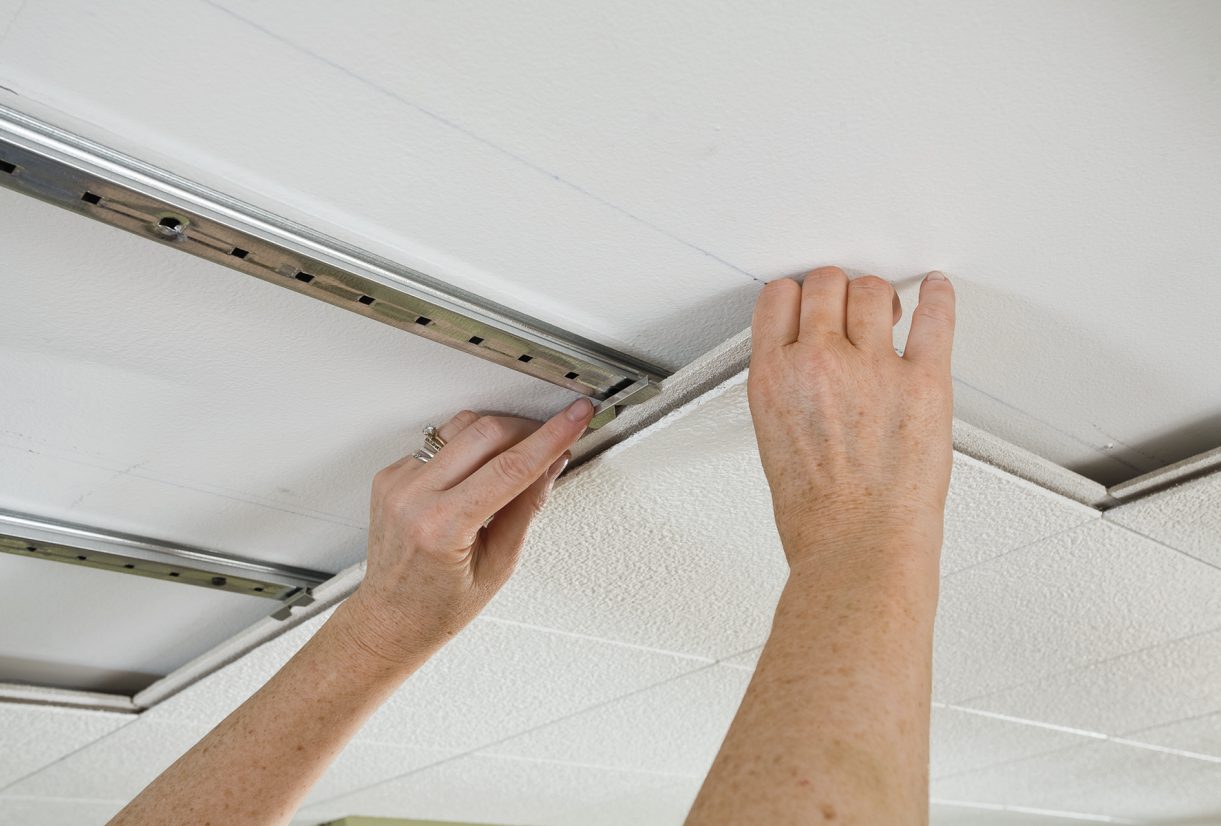
- Now, position the ceiling tiles on the wall where you want them. Make sure they are level and firmly pressed down.
- Once the tiles are in place, use a putty knife to spread the adhesive around the edges to create a finished look.
- Finally, let the adhesive set for 24 hours before you put any items back in the room. This will ensure that the tiles are firmly in place. Follow these steps and you’ll have a beautiful new ceiling in no time.
How to install ceiling tiles with adhesive
First, make sure to measure the area you want to cover and purchase enough ceiling tiles to cover the area. It is also important to purchase the right adhesive for the tiles. Once you have all of your supplies, begin by cleaning the ceiling surface. Make sure the surface is dry and free of dust and debris before applying the adhesive. Apply the adhesive evenly to the ceiling surface, using a notched trowel if necessary.
Next, take the ceiling tiles and place them into position on the adhesive. Make sure they are pushed firmly into the adhesive and that they are all level. Any extra adhesive should be wiped off of the tiles. For added protection and soundproofing, consider using acoustic sealant between the tiles and the wall. This will help to keep the tiles in place and reduce any noise or vibrations. Finally, let the adhesive set for the recommended amount of time. After the adhesive has set, you can enjoy a beautiful, new ceiling with minimal effort!
How to install suspended ceiling with ceiling tiles?
Installing a suspended ceiling with ceiling tiles can be a great way to upgrade the look of a room. To install a glue up ceiling tile, you will first need to measure the ceiling to determine the amount of tiles you will need. You will then need to gather the necessary supplies such as adhesive, a level, and a putty knife. After that, you will need to spread the adhesive onto the ceiling with the putty knife. Once the adhesive is spread evenly, you will need to place the tiles onto the ceiling, making sure that they are level.
You may need to cut a few of the tiles to fit the exact measurements of the ceiling. When all of the tiles are up, you will need to use a level to make sure that the tiles are installed evenly. Lastly, you will need to leave the adhesive to dry before adding any additional decorations or accessories. By following these steps, you can easily install a suspended ceiling with ceiling tiles in no time and give your room a sophisticated new look.
How do you install tile on ceiling?
The first step is to measure the area that you would like to tile and make sure to purchase enough tiles to cover it. Next, you will need to take a few minutes to prep the area where the tiles will be installed. Make sure that the ceiling is clean, dry, and free of any debris. Once you have prepped the area, you will need to apply a thin layer of the appropriate adhesive to the back of the tiles. Using a putty knife or spreading tool, you can ensure that the adhesive is applied evenly.
After the adhesive has been applied, you can begin to install the tiles. Start at one corner and work your way around the room, carefully pressing each tile into place. Once all of the tiles are in place, you can apply pressure to ensure that they are firmly attached. Finally, you should take a few minutes to inspect the tiles and make sure that they are properly installed. If any adjustments need to be made, you can use a putty knife to easily make them. With a little bit of patience and effort, you can easily install glue up ceiling tiles in your home.
How do you install ceramic tile on ceiling?
Installing ceramic tiles on your ceiling can be a great way to add a decorative touch to your home. To do this, start by cleaning the ceiling surface and letting it dry completely. Then, apply glue up tile adhesive to the back of the ceramic tile and press the tile firmly onto the ceiling. Make sure the tiles are level and press them firmly into the adhesive. Once the walls are covered, allow the adhesive to dry completely before adding grout to the area.
Apply the grout to the spaces between the ceramic tiles and spread it evenly with a rubber trowel. Then, use a damp sponge to wipe off any excess grout. After the grout has dried and cured, use a sealer to protect the tiles and grout from moisture. Finally, you can add a finishing touch by painting the tiles with a water-based or oil-based sealer. You can also use a grout stain and sealer to give the tiles a uniform and polished look. With a little care and effort, you can easily install ceramic tiles on your ceiling and enjoy a beautiful, luxurious look for years to come.
How to install Armstrong ceiling tile?
It takes a bit of time, but the results are worth it. To begin, make sure you have all the necessary tools and materials, including ceiling tiles, adhesive, trowel, and pencil. Start by measuring the ceiling and marking the area you will be installing the tiles on. Be sure to account for any outlets or other objects that may be in the way. Next, spread the adhesive with a trowel.
Follow the instructions on the adhesive package for the appropriate amount of adhesive. Once the adhesive is spread evenly, lay the tiles in place and press down firmly. Let the adhesive set overnight and then use a damp sponge to remove any excess adhesive. Your Armstrong glue-up ceiling tiles should now be installed and you can enjoy the transformation in your room!