Making clay glue is an easy and fun process. All you need is a few simple ingredients to get started. First, combine one cup of flour, one cup of water and one tablespoon of salt in a medium bowl. Mix the ingredients together until a paste forms and then set aside. Next, add two tablespoons of vegetable oil to the paste and mix it together until the oil is completely blended in.
Now, pour the clay glue mixture into a pot and bring the mixture to a boil over medium-high heat. Once the mixture starts to boil, reduce the heat to low and simmer the mixture for approximately 20 minutes. Finally, take the pot off the heat and let the mixture cool down. Once the mixture has cooled down, you can use it as a glue for your clay projects. Make sure to store any unused clay glue in an airtight container and keep it away from direct sunlight.
What glue works on air dry clay
Air dry clay is a popular choice for many crafts and requires a strong adhesive to remain secure. Choosing the right glue for your project is essential. Many types of glue will not work on air dry clay, so it is important to do research beforehand. The best type of glue to use on air dry clay is a water-based craft glue, such as Mod Podge, Aleene’s Tacky Glue, or Elmer’s Glue. These glues are designed specifically to work on porous surfaces, making them perfect for clay.
You should always apply a thin layer of the glue to both the clay and the surface you are adhering it to. This will ensure that the clay will stay securely attached to the surface. When you are finished with your project, you can seal the clay with a water-based sealer to keep it from breaking apart. With the right glue, your clay creations will stay intact for years to come.
What can I use to glue air dry clay together?
All that you need is some baking soda and white glue. To make the glue, start by measuring out equal parts of baking soda and white glue. Mix these two ingredients together until it forms a paste-like consistency. Make sure to mix it thoroughly so that there are no lumps left. Once you have the glue mixture ready, take a small paint brush and lightly brush a thin layer of the glue on the surface of each clay piece that you want to join together.
Then, carefully press the pieces together until they are securely joined. The glue mixture will dry quickly, and you’ll be left with a secure bond between your clay pieces. This clay glue is perfect for making homemade sculptures, trinkets, and decorations. Overall, using baking soda and white glue to make clay glue is a great way to secure pieces of air dry clay together. With this simple and inexpensive method, it won’t take too long before you can start creating your own homemade pieces with air dry clay.
Can I use Mod Podge on air dry clay?
Making clay glue is easy when using Mod Podge. Mod Podge is a type of glue that can be used to adhere air dry clay to other surfaces. It is nontoxic and water-based, making it suitable for use with all types of air dry clay projects. You will need to apply a thin layer of Mod Podge to the back of the clay and the surface you are adhering it to. Allow the glue to dry completely before pressing the clay to the surface.
This will ensure the clay is securely attached and won’t peel or come off easily. If you need a stronger hold, you can use a hot glue gun with the clay. This will create a more permanent bond between the surfaces. However, make sure you use caution as the heat from the glue gun may create air bubbles that can cause the clay to break. Mod Podge is a great option for shorter-term adhesion. It is easy to use and won’t damage the air dry clay. Plus, it is a great way to decorate your clay projects. For a stronger bond that will last for years, hot glue is the way to go.
Does Gorilla Glue bond clay?
One adhesive that is a great choice for clay bonding is Gorilla Glue. Gorilla Glue is a powerful adhesive that is known for its strength and durability. This glue forms a strong bond with porous and non-porous materials such as wood, stone, metal, glass, ceramics, and of course, clay. It is waterproof, temperature-resistant and won’t break down over time. To apply Gorilla Glue to clay, you need to make sure that the surface is clean and free of dust or dirt.
Once the surface is clean, you can apply the glue directly from the bottle. Allow the glue to set for a few minutes before pressing the surfaces together. Once the two surfaces are pressed together, it is important to hold them in place for several minutes. If you need to, you can use clamps to keep the surfaces in place until the glue has fully dried and bonded. Gorilla Glue is an ideal choice for bonding clay as it is strong, durable and waterproof. It is also easy to use and provides a reliable bond that won’t break down over time.
Can you seal air dry clay with Elmers glue?
This simple glue is perfect for bonding pieces of clay together, or to another surface. To make the glue, simply combine equal parts Elmer’s glue with air dry clay. Make sure to mix the glue and clay together until the mixture is uniform and has a slightly thicker consistency. Once mixed, the clay glue is ready to use. Spread the glue on the surface you want to bond the clay to, or use it to join pieces of clay.
You can also use it to ‘seal’ air dry clay by brushing a thin layer over the clay surface. When using the clay glue for sealing, be sure to keep it thin. If the glue gets too thick, it could affect the drying of the clay, resulting in a lumpy, rough surface. To avoid this, use the glue sparingly. Overall, Elmer’s glue and air dry clay is an excellent combination for making clay glue. It’s a great option for beginners, and can be used to bond, seal, and finish projects with ease.
Does Mod Podge make air dry clay waterproof?
Mod Podge is a type of glue which can be used to seal the clay and make it waterproof. It also provides a glossy finish which helps to enhance the appearance of your clay project. To make clay glue with Mod Podge, simply mix equal parts of Mod Podge and water in a bowl. Then take a small piece of air dry clay and dip it into the Mod Podge mixture. Rub the clay into the mixture until it is evenly covered.
Allow the clay to dry before using it to glue other pieces of clay together. Mod Podge can be used to make air dry clay waterproof, making it an ideal choice for anyone looking for a long-lasting solution for their clay project. Its glossy finish also ensures that the project looks professional and aesthetically pleasing. Using Mod Podge to make air dry clay waterproof is an easy and cost-effective way to ensure that your clay project lasts for years to come.
Which glue is used to stick clay?
Most craft stores sell clay glue, and it is very affordable. To make clay glue, you will need to combine clay with a glue that is specifically designed to bond with clay. This type of glue is typically strong enough to hold the clay together, but flexible enough to allow the clay to be reshaped or molded. When selecting a glue for clay, make sure you choose one that is specifically designed for clay. Common types of clay glue include PVA glue, white glue, and epoxy-based glue.
PVA glue is especially useful for adhering pieces of clay together, while white glue has a slightly less strong bond. Epoxy-based glue has a very strong bond and is perfect for creating permanent sculptures and structures. To use the clay glue, mix it with a small amount of water and stir it together until it forms a thick paste. Then use a paintbrush or other tool to apply the glue to the surface of the clay where you want to join the pieces together. Allow the glue to dry completely before continuing to work with the clay. Clay glue is an essential tool for those who work with clay. It is easy to use and provides a strong bond that will hold your clay pieces together. Just make sure to select a glue specifically designed for clay, then mix and apply it correctly for the best results.
Does Mod Podge glue clay?
Making clay glue is easy with Mod Podge glue. Mod Podge is a decoupage glue that acts as a sealant, glue, and finish all in one. It is specifically designed for use with materials such as paper, fabric, ribbon, and clay. Using Mod Podge to glue clay together makes the process easy and convenient. Simply apply the glue to the clay and press it together.
The Mod Podge will dry quickly and create a strong, durable bond. When using Mod Podge glue to hold clay together, it is important to consider the type of clay being used. Specialty clays may require a different type of glue, so be sure to check the instructions on the package. Mod Podge is a great option for making clay glue. It is easy to use and it creates a strong, lasting bond. Plus, it can be used with a variety of materials, including paper, fabric, ribbon, and clay. So, the answer to the question, “Does Mod Podge glue clay?” is a resounding yes!
How to glue air dry clay together?
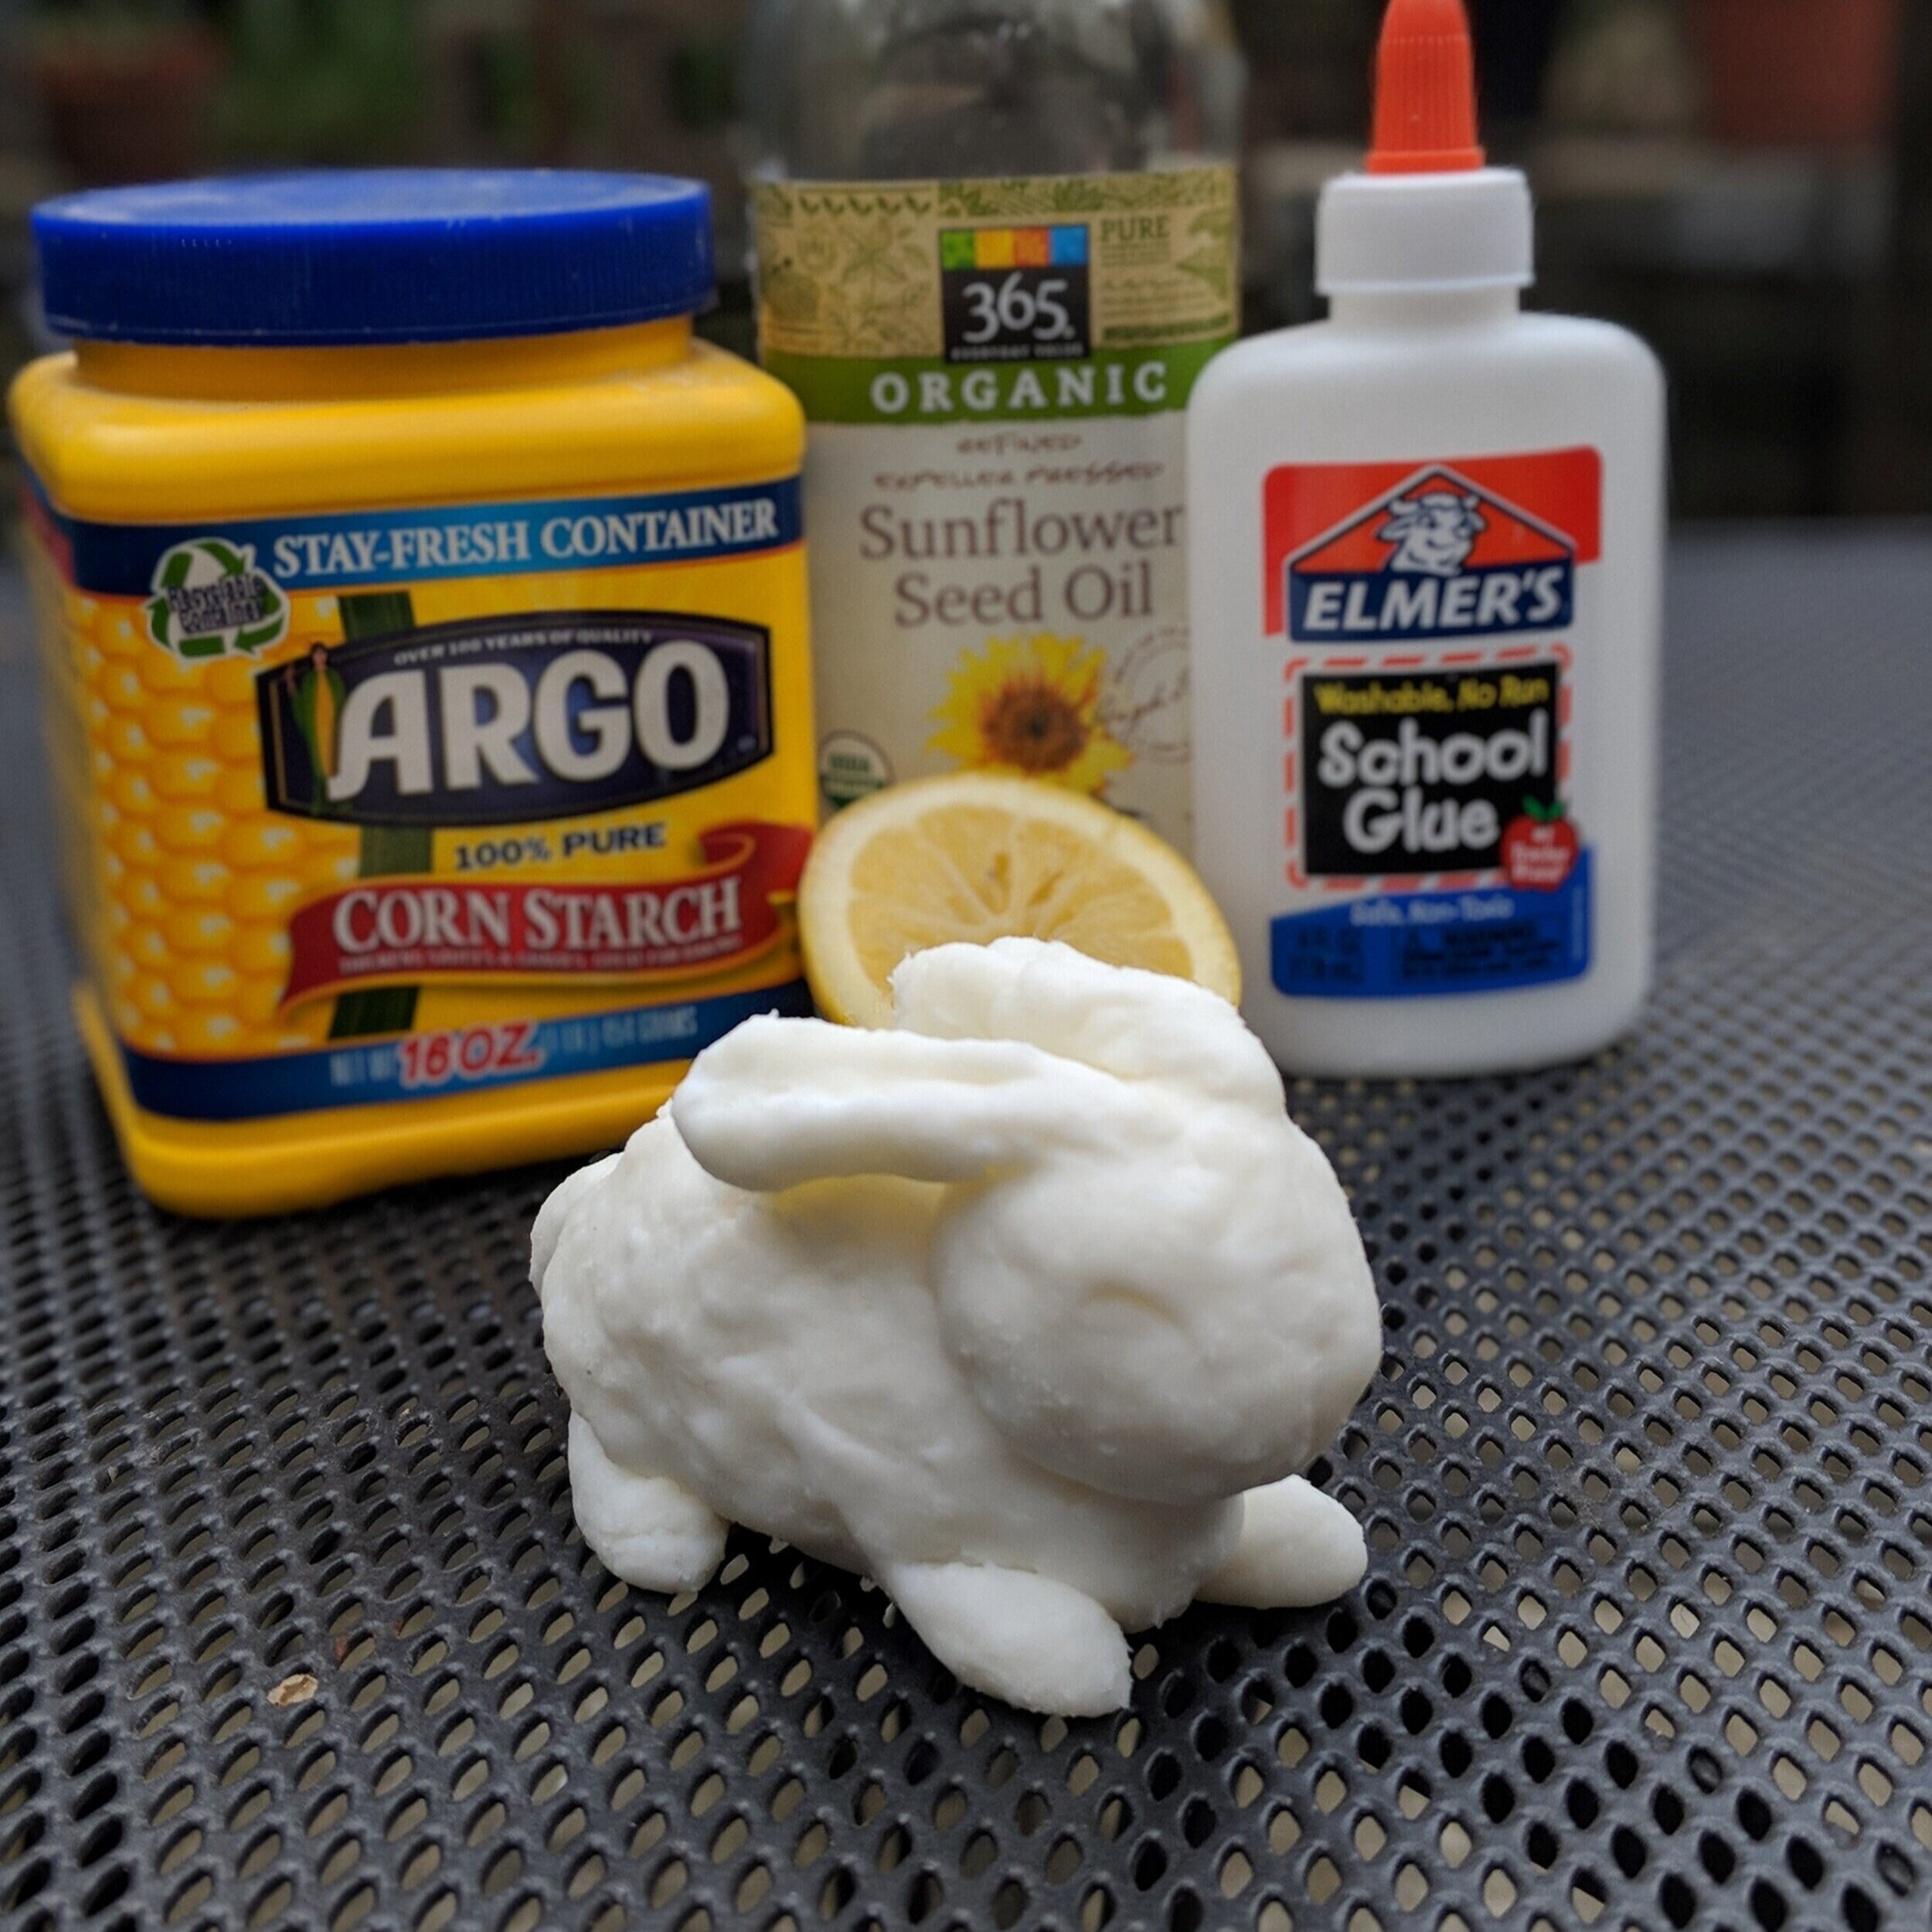
To make clay glue, you will first need to gather some ingredients, such as white glue, cornstarch and water. Begin by mixing the white glue and cornstarch in a small bowl. Add a tablespoon of water and stir to combine. The mixture should be thick and sticky. Once the mixture has thickened, use a sponge to apply a thin coat of the clay glue to both pieces of clay.
Make sure both pieces are completely covered. Allow the glue to dry completely before attempting to attach the two pieces of clay together. Once the glue has dried, gently press the two pieces of clay together. Use your fingers to smooth out any cracks or gaps between the two pieces. Allow the pieces to dry before handling. If the clay glue is too thin, mix in a bit more cornstarch until the desired consistency is reached. If the clay glue is too thick, add a bit more water until it reaches the desired consistency. Clay glue should be thick enough to make a good seal between the two pieces of clay but thin enough to easily spread. Making clay glue is an easy way to join two pieces of air dry clay together. With a few simple ingredients and some patience, you can easily craft a strong bond between two pieces of clay.
What is the best glue for polymer clay?
The best glue to use for polymer clay is a super-strong glue like E6000 or Loctite. It is important to use a high-quality glue so that your clay pieces stay together securely. E6000 and Loctite have a fast drying time and can be used on a wide variety of materials. They also have a strong bond that can withstand heat, water, and cold temperatures. You may also want to consider using an adhesive with a bonding agent, such as Weldbond, for extra strength.
When using glue for polymer clay, it is important to avoid getting the glue on the clay itself, as it can damage the surface of the clay. To do this, use a q-tip or a thin brush to apply a thin layer of glue to the pieces you want to attach. You should also make sure to apply the glue evenly. If there are gaps or uneven spots, your pieces might not stay together securely. Once the glue is applied, you should let the pieces sit undisturbed and wait for the glue to dry before handling them again. Overall, super-strong glues like E6000 and Loctite are the best glue for polymer clay when crafting. They can provide a strong, secure bond and can withstand a variety of environmental conditions. Just make sure to apply the glue to the pieces evenly and keep it away from the clay itself.
Can you use Gorilla Glue on clay?
Making clay glue is really quite simple. All you need is some Gorilla Glue and some clay. Gorilla Glue is a great choice for making clay glue as it is incredibly strong, water-resistant and can be used on a variety of surfaces. It is also easy to clean up, making it ideal for craft projects. To use Gorilla Glue on clay, you’ll need to make sure the clay is clean and dry before applying the glue.
Then you can use a brush or a cloth to spread the glue evenly over both pieces of clay. Allow the glue to dry for approximately one hour before joining the two pieces. Once the glue has dried, you’ll need to press the two pieces of clay firmly together to ensure they are properly joined. You should also use a clamp to hold the pieces together while the glue sets. By using Gorilla Glue on clay, you can easily create a strong bond that will hold up under various conditions. This is perfect for crafting projects, as it will provide a secure hold that won’t easily break apart. With a little bit of effort, you can make sure your clay glue will last for years to come.
What is the best sealant for air dry clay?
The best sealant for air dry clay is a sealant specifically designed for this type of clay. It will provide a durable, waterproof coating to protect the clay from cracking and breaking. When you are looking for a sealant, make sure it is flexible enough to move with the clay as it dries. Some sealants may become brittle when they are exposed to air, which can cause the clay to crack and break. When applying the sealant, use a small brush to coat the clay thoroughly.
Avoid using too much sealant, as this can cause the clay to change shape and texture. Make sure you cover all the cracks and crevices in the clay to create a smooth, even finish. After the sealant has dried, it should be hard and durable. To test if the sealant is complete, gently press down on the clay and check for any signs of cracking. If the sealant does not crack, then it has been applied correctly. Overall, the best sealant for air dry clay is a sealant designed specifically for this type of clay. When applied correctly, it will provide a durable, waterproof coating, ensuring your clay sculptures and objects are safe from cracking and breaking.
How to glue air dry clay together
Making clay glue is simple and easy. To make your own clay glue, all you need is air dry clay and water. Start by taking a small piece of clay and crushing it into a powder. Next, add a few drops of water to the powder and mix together until you have a paste-like consistency. Once your paste is ready, you can use it to glue pieces of air dry clay together.
Simply spread the paste on the pieces of clay that you want to join, then press them together. Once the glue has dried, the pieces of clay will be securely joined. You can now use your clay glue to create whatever you like with your air dry clay. Enjoy!
How do you get air dry clay to stick together?
Clay glue helps the pieces of clay to stick together when forming shapes. You can make clay glue with just a few simple ingredients. To make clay glue, you will need cornstarch, white school glue, and warm water. Combine 2 tablespoons of cornstarch and 4 tablespoons of white school glue in a bowl. Gradually add warm water while stirring until you have a glue-like consistency.
Once your clay glue is ready, you can use it to attach pieces of air dry clay together. Simply apply the glue to the back of the pieces of clay and press them together firmly. Make sure the pieces are flush and that there are no gaps in between them. You can also use clay glue to cover up any imperfections in the clay. When applying the glue, use a brush to create texture and work it into the surface of the clay. The glue will dry to a hard, durable finish. Once you have used clay glue to stick the pieces of clay together, allow it to dry for several hours. Once the glue has dried, the pieces of clay will be firmly attached and your clay project is ready for use.
What glue works best for air dry clay?
The type of glue you use is important as some glues work better with clay than others. For air dry clay, a good option is white school glue. This glue is easy to find, affordable, and works well when it comes to air dry clay. It is also easy to use, simply apply a small amount of glue to the area where you would like to make a connection. Once the glue has dried, the bond should be strong enough to hold your project together.
If you are looking for a stronger bond, you may want to try hot glue. Hot glue creates a much stronger bond than school glue and can provide a more secure connection. In order to use hot glue, you must have access to a hot glue gun. Heat up the hot glue gun and then apply the glue to the connection points of your clay project. This type of glue should work well for heavier pieces of clay. Polyvinylacetate (PVA) is also a good option for air dry clay. It is an easy to use glue that dries to a clear finish and forms a strong bond. All you need to do is apply the glue to the clay and wait for it to dry. It is important to note that some brands of PVA tend to be thicker and may not work as well with air dry clay. No matter which type of glue you choose, it is important to make sure that it is a good match for air dry clay. White school glue, hot glue, and PVA are all good choices when it comes to bonding air dry clay. With the right glue, you can easily make your clay projects look great.
Can you glue wet air dry clay?
Clay glue is easy to make with ingredients you probably already have in your kitchen. To make clay glue, start by mixing together equal parts flour, salt and water. You can use a spoon or a food processor to mix the ingredients together until they form a thick paste. You should end up with a glue that has a similar consistency to peanut butter. Once you have your clay glue ready, take your wet air dry clay and use a small amount of the glue to bond it together.
You can use a paintbrush or a popsicle stick to apply the glue to the clay. Make sure to spread it evenly to ensure the pieces of clay are properly stuck together. Allow the glue to dry before handling the clay. This usually takes a few hours, but you can speed up the process by placing the clay in a warm room or an area with direct sunlight. Once the glue has dried, your clay should be firmly bonded together. You can use clay glue to fix small pieces of wet air dry clay together and create larger sculptures, or to make intricate models. With a little bit of patience, you can use clay glue to make beautiful, unique pieces of art.
Can you use Mod Podge for air dry clay?
Mod Podge is a water-based sealant that can be used with air-dry clay to give your clay models a glossy, sealed finish. It can also be used to stick two pieces of clay together and make clay projects stronger. To make clay glue using Mod Podge, you will need some Mod Podge, a foam brush, and some air dry clay. First, mix a few tablespoons of Mod Podge with some water in a container. Then, take your foam brush and dip it into the mixture.
Next, brush the mixture onto the clay that you would like to glue together. Make sure to cover the entire surface. Allow the clay to dry before handling it. Once the clay is dry, it will be sealed with a glossy finish. You can also use Mod Podge as a sealant on top of the clay if you would like an even stronger finish. To do this, mix some Mod Podge with some water and brush it onto the clay. Allow the clay to dry before handling it. Using Mod Podge for air dry clay is a great way to ensure that your clay projects will last for a long time. It is also easy to use and can be found in most craft stores. With a little bit of Mod Podge and a foam brush, you can make clay glue and protect your creations from wear and tear.
Can You glue air dry clay with Gorilla Glue?
The glue is strong and waterproof, so it can withstand moisture and other environmental conditions. Before you start gluing, make sure that the surfaces are clean and dry. Apply a thin coat of Gorilla Glue to each surface, then join them. Press the pieces together and hold for 20-30 seconds until the glue starts to take effect. Once it has dried, your clay glue will be hard and durable.
It will also be resistant to any water and other liquids that may come into contact with it. Gorilla Glue is non-toxic and safe to use on air dry clay. However, it’s best to use it in a well-ventilated area as the fumes can be strong. When you’re done, your air dry clay project will be strong and secure. Gorilla Glue is an ideal choice for making clay glue and will help ensure your projects stay together for many years to come.
How do you make air dry clay?
Making clay glue is easy and inexpensive, and it can be used to join pieces of air dry clay together. To make your own clay glue, all you need is some water and air dry clay. Start by adding a few spoonfuls of air dry clay to a cup of water. Mix the clay and water together until it forms a thick paste. If the paste is too thick, add more water until it reaches the desired consistency.
Now leave the clay glue to set for a few minutes. This allows the glue to thicken, which will make it easier to work with. Once the glue has set, it’s ready to use. Spread the clay glue onto the surface of the clay you wish to join, and press the pieces together firmly. This will make sure the glue makes a strong bond. Finally, leave the clay glue to dry for 24 hours. Once it has dried, the glue will have a strong bond that will hold the pieces of air dry clay together.
What kind of glue do you use on clay?
Making clay glue is easy and can be done with a few simple supplies. You’ll need some type of clay, such as polymer clay, and a suitable glue to hold it together. When it comes to gluing clay, the best type of glue to use is a strong adhesive designed specifically for use with clay. Super glue and hot glue are both good choices, as they create a strong bond and can be used with a variety of different kinds of clay. If you don’t have access to a special clay glue, you can use regular craft glue, but be aware that it may not create a strong bond.
White glue and glue sticks can also be used to hold clay pieces together, but it may not be as strong as adhesives that are specifically formulated for clay. For bigger projects with heavier clay pieces, you may want to opt for a waterproof and heat-resistant glue, as these types of glues can create a strong bond that will last. Whichever type of glue you choose, make sure to read the product label for instructions and warnings before use. This will ensure that you get the best results and that your clay project is safe and secure.
Can I use epoxy resin on air-dry clay?
Epoxy resin can be a great choice for making clay glue. It is an ideal adhesive for use on air-dry clay, as it has a strong bond that will hold the clay in place. Epoxy resin is also temperature and water resistant, so it is a great choice for bonding clay in various weather conditions. When using epoxy resin on air-dry clay, you should make sure to use the right ratio of components. Usually, the ratio of epoxy resin to hardener is two parts resin to one part hardener.
This should be carefully measured to ensure the best results. It is also important to ensure that the surface of the clay is clean and free from dust before applying the epoxy resin. This will help to ensure that the adhesive binds properly and creates a strong bond. After applying the epoxy resin, it is important to allow it enough time to cure. The curing time for epoxy resin can vary, so make sure to check the instructions that come with the resin for the correct time. Finally, once the epoxy resin has cured, it can be sanded and painted to match the clay. This will help to create a more seamless and professional look. With the right care and preparation, epoxy resin can be an excellent choice for making clay glue.