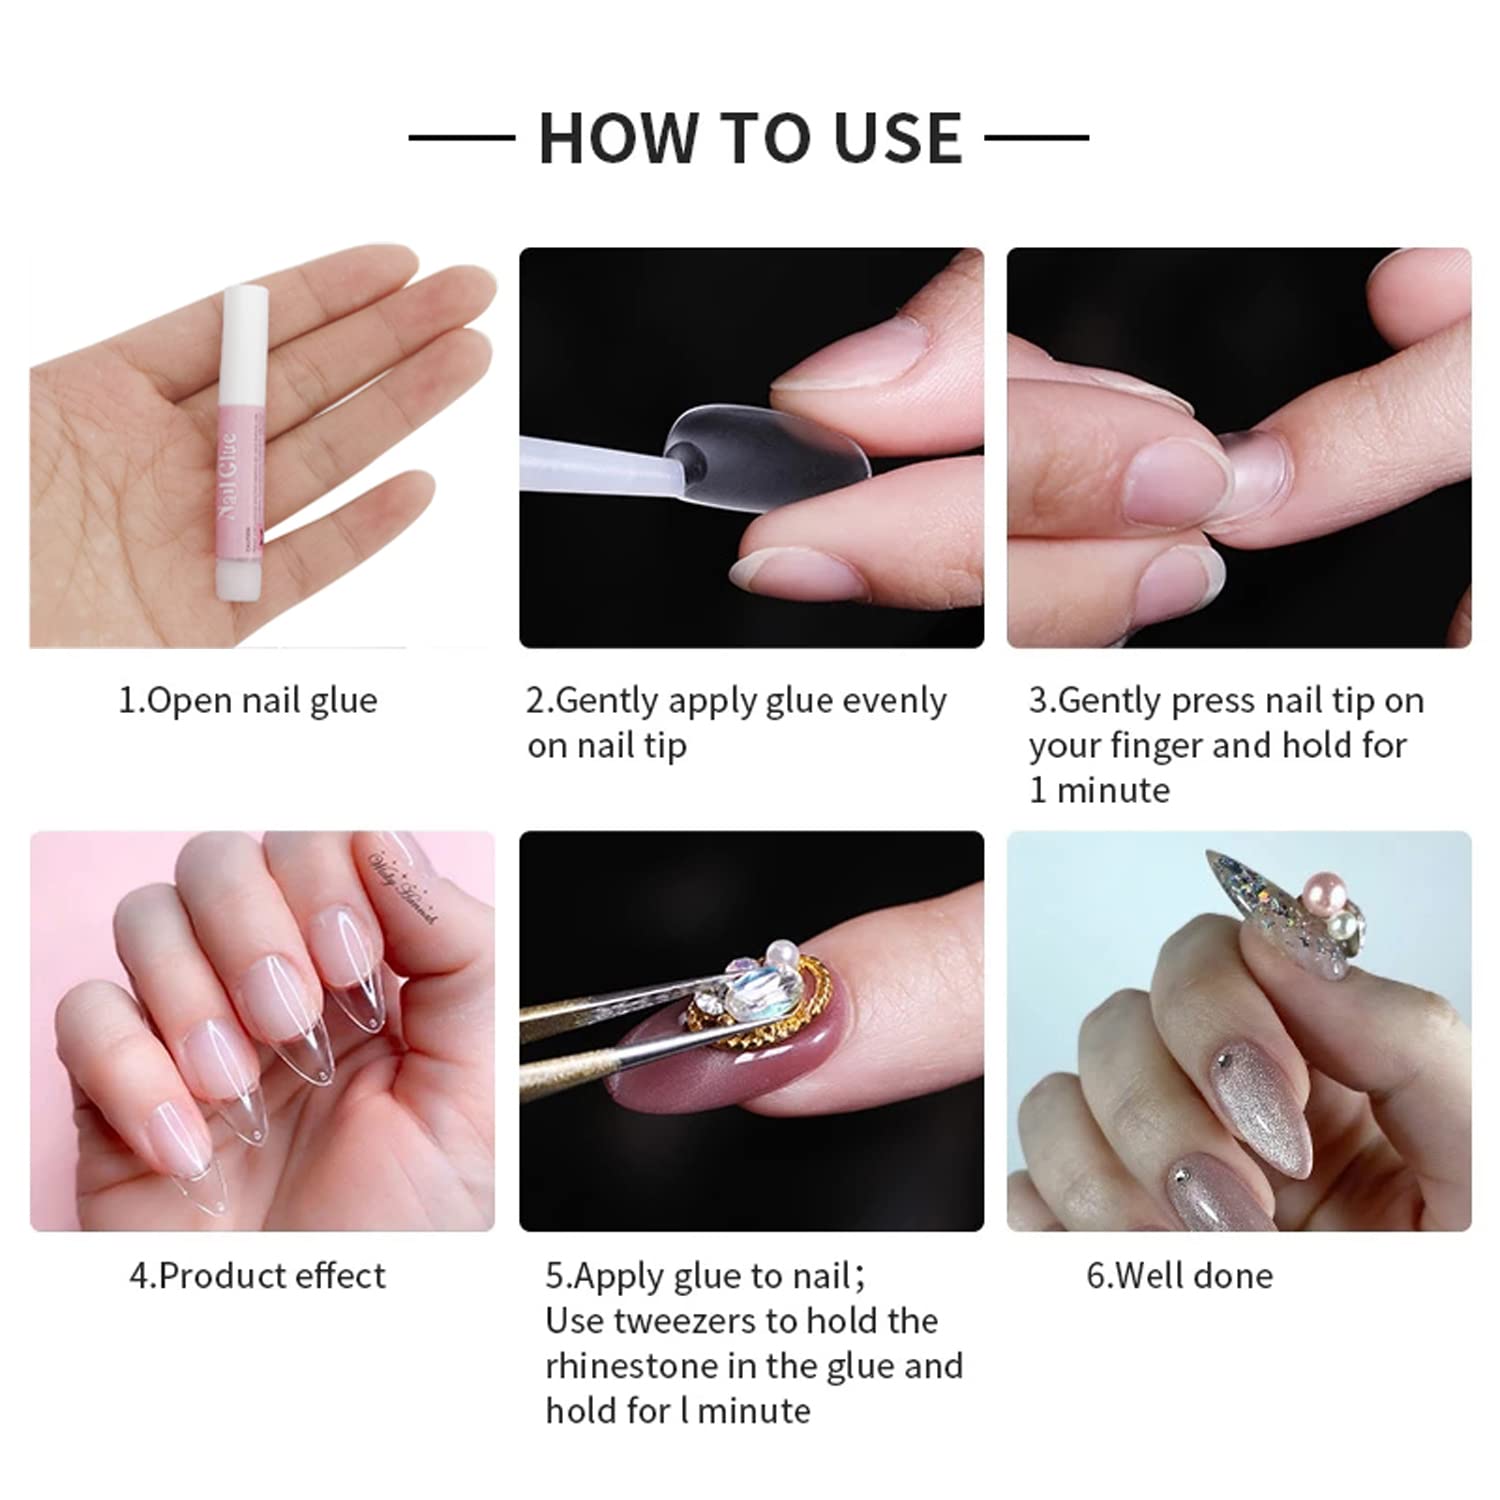
Opening nail glue isn’t always easy, but it can be done. First, try to locate the edge where the glue container lid meets the plastic container. This is usually where the glue is weakest. Next, use some form of leverage, such as a pair of pliers, to slowly pry the lid open. Make sure to apply even, gentle pressure.
If the lid does not budge after some gentle prodding, try using a paperclip or a safety pin to create a small gap between the lid and container. You can then use the lever to open the container further. Once the lid is partially open, you will likely be able to open it fully with your fingers. It is important to be careful when opening the container, as the glue can become a liquid mess if not handled properly. Make sure to hold the container on an even surface to prevent spilling. Finally, once the container is opened, you may need to take additional steps to ensure the top of the glue is sealed. This might involve cutting off excess plastic or applying a thin layer of hot glue to the top of the container. Doing this will ensure that the glue remains usable for future applications.
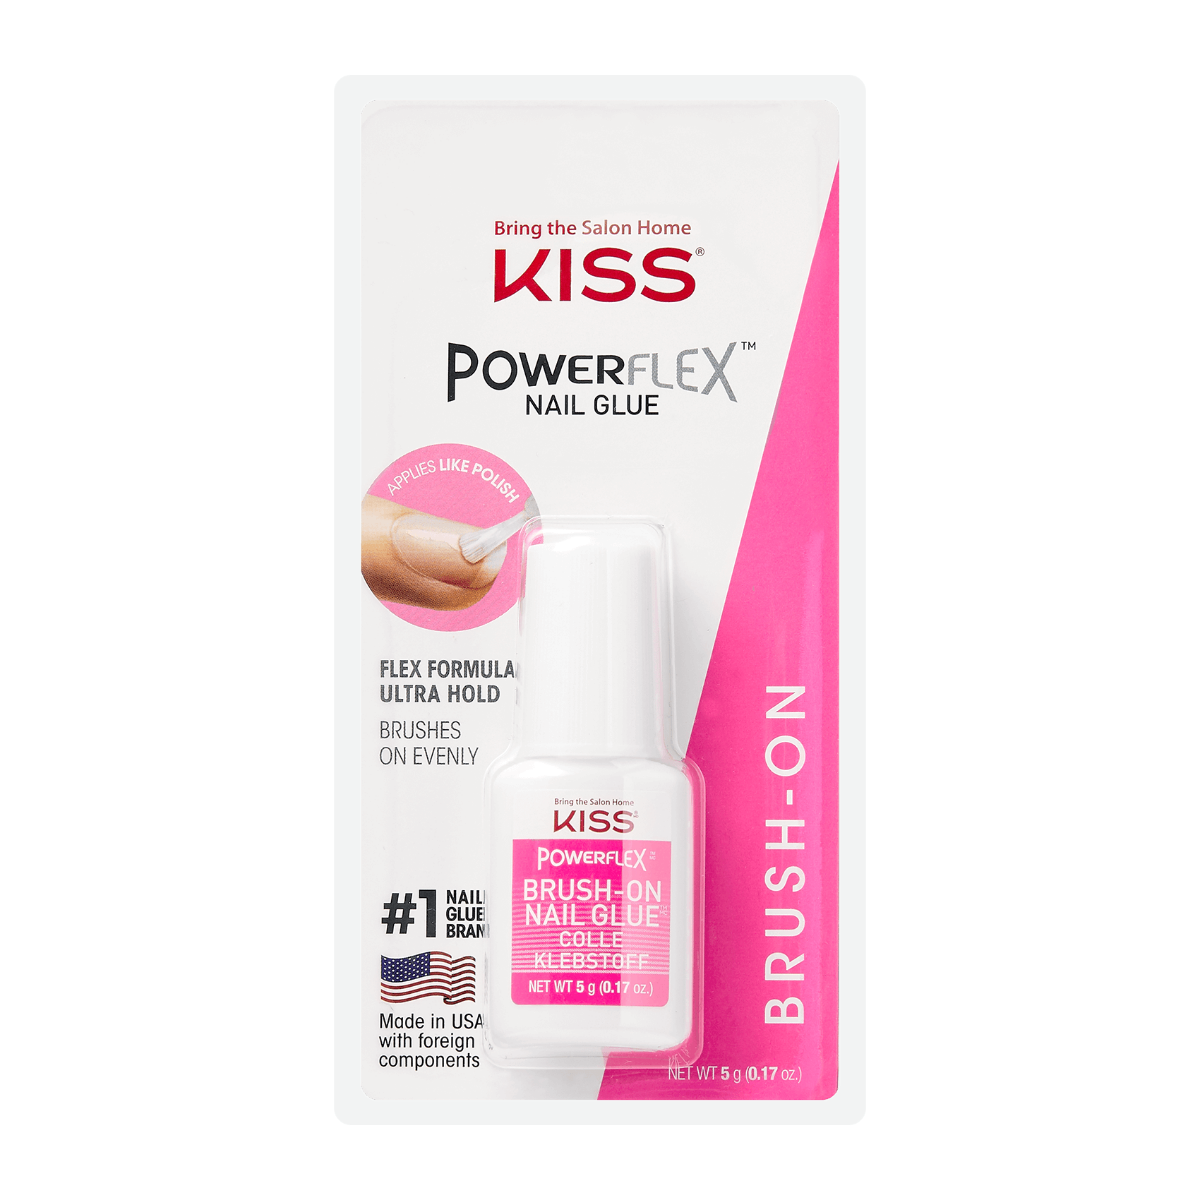
How to open kiss nail glue
First, make sure you have the nail glue tube and a pair of scissors or a sharp blade. Then, find the end of the tube that has the cap and hold it in one hand. Use the scissors or blade to carefully cut the tip of the cap off. Make sure not to cut too deep or too shallow, as this could affect the performance of the glue. Once the cap has been cut off, you can now unscrew the cap on the tube and pull the pin out.
You should then be able to see the opening of the tube, which is where you can squeeze out the glue. You can now apply the glue as needed and be sure to put the cap back on tight when you’re done. This will ensure that the tube stays sealed and the glue doesn’t dry out.
How do you open a kiss nail glue bottle?
First, remove the cap from the bottle and set it aside. Secondly, take the scissors and cut the tip of the glue bottle, making sure to cut only the tip of the bottle. Thirdly, once the tip of the bottle has been cut off, use the scissors to remove the remaining plastic from the bottle. Be careful not to cut too deeply, as this could result in the glue spilling out. Finally, after the plastic has been removed, you should be able to easily open the bottle and begin using the nail glue. Make sure to use the nail glue as soon as possible once it is opened, as it can start to harden quickly. So there you have it – in just a few simple steps, you can now open a kiss nail glue bottle with ease!
How do you open a kiss nail glue cap?
Opening a kiss nail glue cap can seem like a daunting task. But, with the right tools and technique, you can open the cap easily and safely. Firstly, make sure to use a pair of pliers or a screwdriver to open the cap. Place the pliers or the screwdriver at the lip of the cap and then twist and pull it off. Make sure not to use too much pressure as this can damage the cap.
After removing the cap, use a blunt object such as a butter knife or a spoon to pry the bottle open. Put the blunt object underneath the lid and then gently push it upwards. This will loosen the lid and allow you to open the bottle. Once the lid is open, you can use a cotton swab to remove any excess glue that may have seeped out. After that, simply replace the lid and tighten it to ensure the bottle is closed properly. If done correctly, you should now be able to open kiss nail glue cap safely and easily.
Is super glue safe to use on nails?
The answer to this question depends on the type of super glue being used and the intended use. Generally, super glue is safe to use for temporary repairs on nails. However, when used for more permanent repairs, such as attaching fake nails, special care must be taken to ensure that it does not come into contact with skin or eyes. When using super glue on nails, make sure to use a type of glue specifically formulated for use on nails. This will help to ensure that the glue is safe to use and will be strong enough to hold firmly.
Before using the glue, make sure to clean the nail surface and apply a coat of nail polish. This will help to ensure that the glue adheres properly and also prevents skin irritation. To open nail glue, first, use a pair of pliers or tweezers to pull the glue apart. If this is not possible, use a nail file or sandpaper to file away the glue. It is important to use a clean tool to avoid contamination. Finally, ensure that the area is well ventilated when using the nail glue. This will help to reduce the risk of inhaling any harmful fumes from the glue.
What is the best professional nail glue?
When it comes to professional nail glue, there is no one-size-fits-all solution. It’s important to choose the best product for your needs. The best professional nail glue should be strong and reliable, as it’s used to attach artificial nails to the natural nail bed. It should also be easy to open, as this will make it easier to apply the glue and avoid any mess. To open nail glue, you should start by gently pressing the tip of the cap against a flat surface.
This will help to loosen the lid and make it easier to open. If the lid is still stuck, you can use a pair of pliers to open the cap. When opening the bottle, make sure to wear gloves to avoid any contact with the glue. Once the lid is open, you can use a nail brush to apply the glue. Be sure to use only a small amount of glue and spread it evenly over the surface of the artificial nail. In summary, the best professional nail glue should be strong and reliable, and easy to open. Make sure to wear gloves when opening the bottle and use a nail brush to apply the glue. This will ensure that you get the best results when attaching artificial nails to the natural nail bed.
Can you use Crazy Glue on fake nails?
If you are looking for a way to open nail glue, then you should know that Crazy Glue cannot be used on fake nails. Crazy Glue is a type of adhesive that is used to stick two surfaces together and is not suitable for use on nails. Nail glue is specifically designed to be used on nails and won’t work as well if used on any other surface. Fake nails require a special type of glue that is specifically designed to work on them. When using nail glue on fake nails, make sure you are using a product that is safe and non-toxic.
It is important to follow the manufacturer’s instructions on how to use the product and how to open it safely. You may also want to use a nail file to scrape away any excess glue that may have dripped onto the nails. This will help to ensure that your nails look neat and polished. Finally, you should always be very careful when using nail glue, as it can be dangerous if used incorrectly. Make sure you keep it away from any open flames and always use it in a well-ventilated area.
Can you put hot glue on your nails?
Using hot glue on your nails can be a great way to quickly and easily add some extra flair to your nails. However, it is important to be aware of the risks associated with this method. Hot glue can easily melt and become too hot for your nails, causing damage. Before attempting to put hot glue on your nails, you will need to find a suitable nail glue that can withstand the high temperatures. This type of glue is typically available at most beauty supply stores.
In order to open the nail glue, you will need to twist the cap off of the tube. Be sure to keep the lid of the tube facing away from you to avoid any hot glue splattering onto your hands or face. Once the lid is removed, you can begin to use the hot glue on your nails. Before doing so, make sure to apply a thin layer of clear nail polish to your nails to protect them from the heat. After applying the hot glue, be sure to press down and hold it in place for 10-15 seconds to ensure the hot glue sets properly. Finally, once the glue has cooled, it is important to remove any excess glue around the nail. Use a cotton swab and some nail polish remover to ensure your nails look neat and tidy. With this method, you can easily add extra glitter, colour and texture to your nails to complete your look!
How to open nail glue tube
Opening a nail glue tube can be done easily with a few simple steps. First, locate the opening at the top of the tube. It will be a small cap with a thin line around it. Next, hold the tube in one hand and grab onto the cap with your other hand. Make sure to use a firm grip.
Once you have a good grip, twist the cap counter-clockwise to open the tube. If it is difficult to open the tube, you can use a pair of pliers to help you. Finally, when the tube is open, you can apply the glue to the nail and let it dry. With these steps, you can easily open any nail glue tube.
How do you open a glued nail glue bottle?
Opening a bottle of nail glue can be tricky. It usually comes with a superglue-like seal and a tight lid. To open it, start by running the bottle under hot water for a few seconds. This will help soften the seal and make it easier to remove. Next, use a pair of pliers to grip around the seal of the bottle and twist it in a counter-clockwise direction.
This will help break the seal and make it easier to take off. Once the seal is off, use a thin object like a thin knife or a small screwdriver to pry off the cap. Be careful not to use too much force as this can damage the bottle and make it harder to open. Finally, slowly but firmly twist the cap counter-clockwise until it loosens up. If it doesn’t come off easily, you can use a pair of pliers to give it a gentle tug and it should come off. Now you should be able to access the nail glue inside. Make sure to store the bottle in a safe place and away from children as it contains a strong adhesive.
How to open nail glue?
First, you will need a pair of scissors or a nail file. With the scissors or nail file, carefully cut through the outer seal of the glue bottle, making sure not to damage the inner seal. Next, use the scissors or nail file to carefully pry the inner seal off the bottle, taking care to not puncture the inner seal. Once the inner seal is off, you can now open the bottle of nail glue. When opening the bottle, make sure to tilt the bottle away from your face to avoid getting any glue in your eyes. It is also important to not over-squeeze the bottle as this can cause the glue to spill and make a mess. Lastly, keep your bottle of nail glue tightly closed when not in use and store it away from direct sunlight, as prolonged exposure to sunlight will weaken the glue.
How to remove nail glue from glasses?
Removing nail glue from glasses can be a tricky task. Thankfully, there are some simple steps you can take to get the job done. First, you need to open the nail glue container. To do this, use a pair of scissors or a knife to cut through the seal on the container. Be careful not to cut yourself.
Once the container is open, you can use a cotton swab to apply acetone, rubbing alcohol, or any other type of nail glue remover to the glasses. Make sure to cover the entire area of the glue with the remover. Let the remover sit for a few minutes, then use a soft cloth to wipe away the glue. You may need to use some elbow grease to get the job done, but be sure to apply pressure evenly to avoid damaging the glasses. Finally, rinse the glasses with clean water and dry them with a soft cloth. This will help ensure that all of the nail glue remover is washed away, leaving your glasses free from any residue.
How do you remove the top of a nail glue container?
Opening a nail glue container can be tricky but with the right tools, it can be done. To remove the top of a nail glue container, start by placing a flat, sturdy object, like a coin or flathead screwdriver, in between the lid and the container. Push down on the lid to create an opening and then slip the flat object beneath the lid. Once the lid is loose, use two hands to gently lift and remove the lid. If the lid is stuck, try using a thin, sharp object, such as a thin blade, to carefully pry the lid off the container.
Be sure to use caution when doing this to avoid damaging the container. You can also try heating up the lid with a hair dryer or heat gun. This will make the lid more pliable and easier to remove. However, be careful not to overheat the container, as this can cause it to melt or become deformed. Once the lid is off, you can use a pair of tweezers to help get the glue out of the container. You may also need to use a thin brush or toothpick to help guide the glue out of the container. Finally, once the glue has been removed, you can discard the lid and container, or you can clean the container and lid and reuse them. Opening nail glue containers can be a tricky task, but with the right tools and a bit of patience, you should be able to get the job done.
How to open a glue bottle without a lid?
Opening a glue bottle without a lid can be difficult, but with the right techniques it can be done. First, you’ll need some rubber gloves and a paper towel. The rubber gloves are to protect your hands from the glue, while the paper towel is to catch any glue that might run out. Next, you’ll need to find something that can help you pry the lid off, such as a screwdriver, metal spoon, or a pair of pliers. Place the paper towel around the bottle to catch any extra glue, and then use the tool to carefully pry the lid off.
Once the lid is off, you can use the paper towel to clean up any excess glue, and then you’ll be able to use the glue bottle. If the glue is still stuck to the top of the lid, use some solvent to remove it. Finally, be sure to properly dispose of the paper towel, rubber gloves, and any other materials you used to open the glue bottle. This will help keep the surrounding environment clean and prevent any spills.